tangerines and marmalade

Image

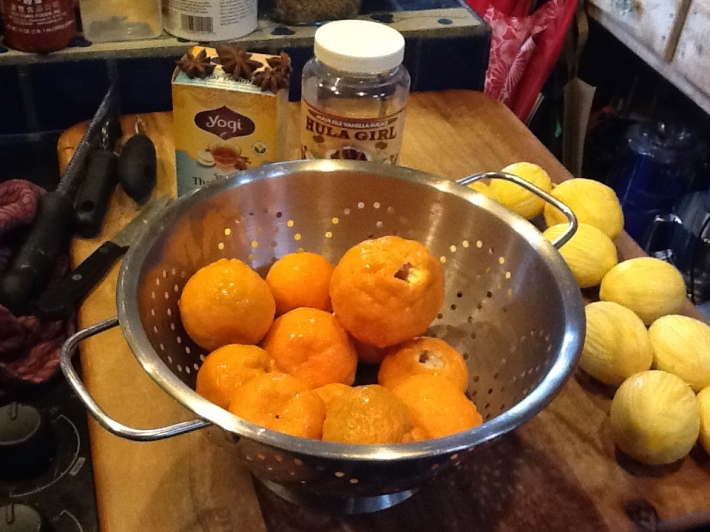
I know what you’re thinking. Marmalade is traditionally made with oranges. The only problem is, no oranges in our garden, only these delicious and cute Satsuma tangerines. Tart and sweet, this Japanese variety is very cold tolerant and does very well here in Northern Cal., where we’ve had quite a few night temperatures below freezing this month. So, I decided to make some marmalade to brighten up my winter. And you know what? It turned out great. I will definitely make some more before long.

Image

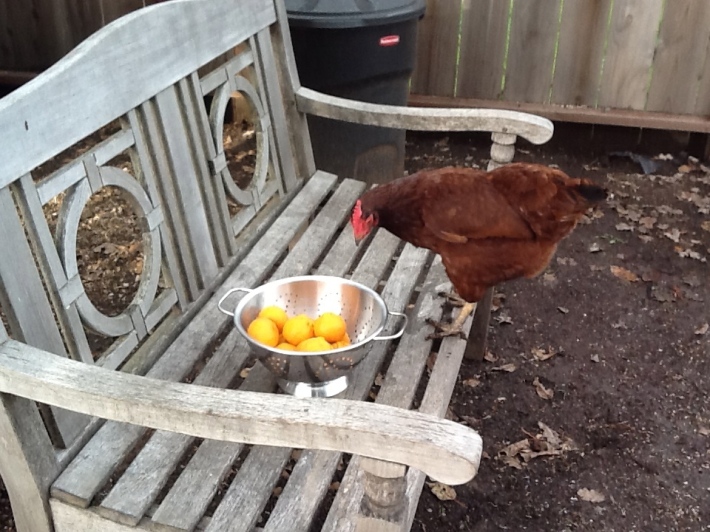
Lucy wasn’t sure what to make of the orange egg-looking things. I wonder what is goes on in that chicken brain…

Image

My little friend Cody helps me in the garden. He decided to stop and smell the paperwhites. So cute. Well, he might look cute, but don’t let that fool you. He’s a stinker.

So, making marmalade is simple. I decided to also use some Meyer lemons my friend Kate gave me. And I decided to make this batch with Thai spices. I have been drinking this great Thai Rooibos tea made by Yogi. Why not incorporate those flavors into the marmalade? And I used some special Hawaiian sugar with vanilla also.

Image

Here is the recipe:

2 Meyer lemon peels, chopped into thin strips

10 Satsuma tangerine flesh and peels, chopped into thin strips

5 cups vanilla sugar

5 cups water

3-4 star anise seed pods

1 Thai Chai tea bag (by Yogi)

Image

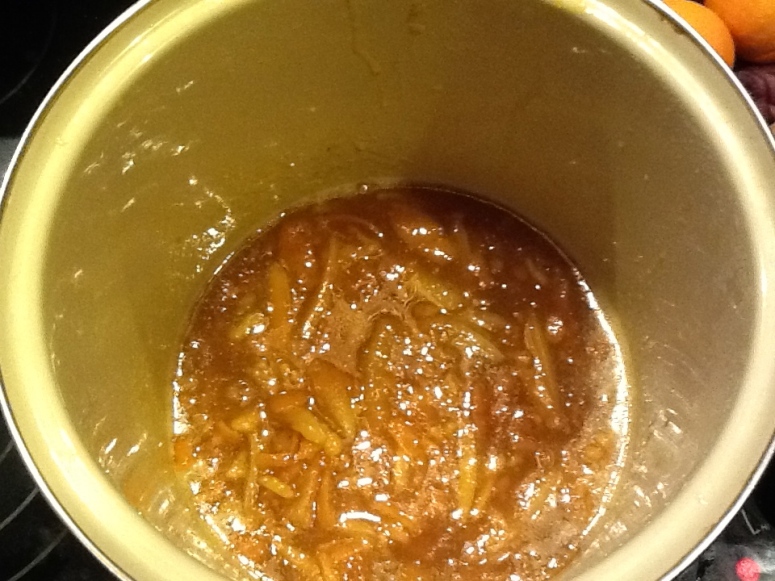
Peel skins off lemons. Chop into thin strips. Chop whole tangerines into thin strips, but remove seeds (seeds will make this bitter). I used the flesh and the peel. Add water and sugar, star anise, and Thai tea bag. Bring to a boil, stirring often. You are really just dissolving the sugar here. Cover and take off the heat. Remove tea bag, and let the mixture stand overnight. (You can skip this step if you are in a hurry, however the flavors will not be as intense.)

Return to stove the following day, and bring to a boil. Reduce the heat and simmer for 45 min. to an hour. You will need to keep an eye on this, and stir it every now and again. Don’t let the mixture cook to the bottom of the pan or burn. After an hour, turn the heat up again, until the mix starts to foam. This step helps to thicken the marmalade. Cook the marmalade until it reaches 220 degrees F with a candy thermometer.

IMG_0340

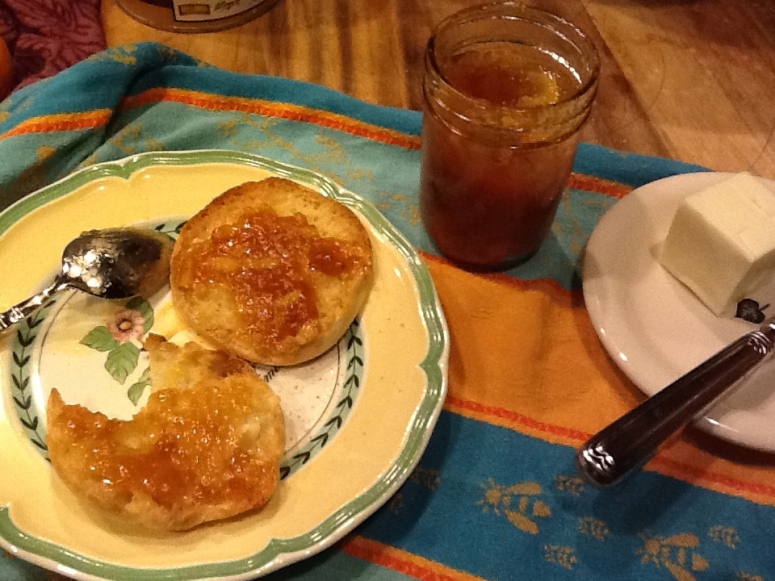
Let the mixture cool down a bit, and spoon into warmed Mason jars. Without actually doing a hot water bath canning process, this marmalade will last in the fridge for a month or so. Believe me, it didn’t last that long at our house. We ate it up in no time. Super yummy on English muffins…

IMG_0343

Equally delicious in a savory dish. Try brushing a pork tenderloin with Dijon mustard, garlic powder, olive oil and salt. Next, scoop on a couple tablespoons of the marmalade, and bake at 350 degrees for 30 minutes. Bon Apetit, and enjoy the fruits of winter!

IMG_0348

Grow-Eat-Love

Early winter veg

Well, it is definitely winter time around here. Dropped down to 33 degrees last night. And while all the tomatoes, squash, eggplant and cucumbers are gone, the garden now has some lovely, vibrant cold-tolerant veggies growing up just fine. Who says you can’t grow food year-round? Here are some of the things growing.

Image

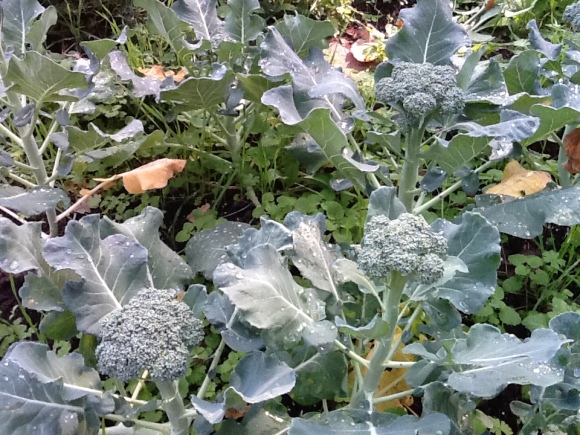
I planted small seedlings at the beginning of September, and the broccoli looks ready to eat. It always amazes me how these plants manage to grow so well in the cooler weather and with less sunlight.  The cauliflower plants are doing great. They are just starting to curl up in the center to form heads. Stay tuned, I will post photos once I have an impressive specimen.

Image

The leeks don’t look like much now, but like the garlic, they continue to grow. In a few months we can start to harvest some, and in four months, they will be ready for soup. (Potato and leek soup is so good.) They will do great just waiting in the ground, until we decide to eat them.

Image

My favorite new vegetable is the Savoy cabbage. I adore this variety. It has the best taste and beautiful ruffly leaves. It is great as a side or in soup, or stuffed with ground meat and rice. They have just started to curl up in the middle, so it might be a while yet for a head of cabbage. That’s ok, I am patient in the winter.

Image

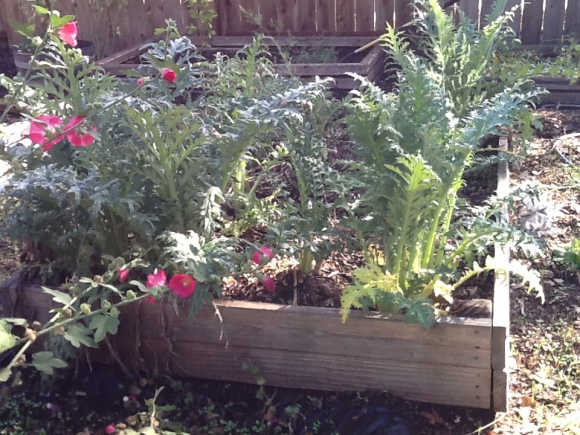
Our artichokes died back over the hot months of summer, only to emerge again as the weather cooled down. We planted Green Globe and Italian Violetta more that 7 years ago. These plants are amazing. By spring, each plant will be covered with little flower buds that we will gratefully cut off and boil. I truly love artichokes, one of my favorites. Stay tuned, more photos in the spring.

Image

Another new addition to our winter garden is this Tuscan Nero kale.  Now, I love chard and spinach, but kale, not so much. Not a big fan. However, it is a super food, full of all kinds of good-for-you stuff, like vitamin A, B6, C, and K. It is also a good source of minerals like iron, potassium, and manganese. I have decided to give it a try. And you know what? It tastes great in soup. I can’t wait to try more recipes. I love the dark blue-green color of the leaves.
Image

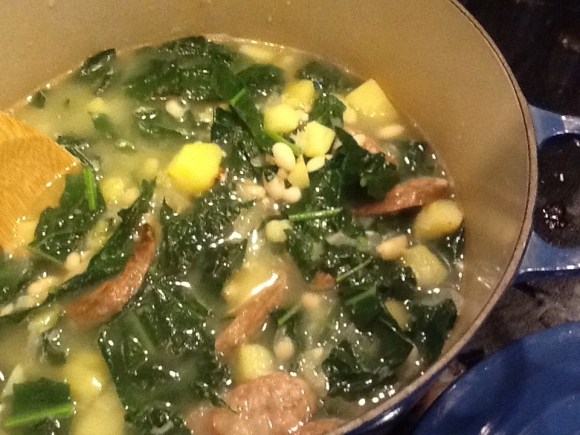
I made a Portuguese potato and kale soup, called Caldo Verde. Super easy, super yummy. Here are the ingredients.

4 cups chopped kale

4 small to medium potatoes, peeled and cubed

1 onion chopped

2 garlic cloves minced

1 can Northern white beans

2 spicy sausage, fully cooked

Image

Get a big Dutch oven on the stove, over medium heat. Cut up sausages and brown. Set aside. Add some olive oil to pot, and cook onions and garlic until tender, 5-8 minutes. Add 6 cups of water or chicken stock to the pot. Add potatoes. Turn up to high, simmer, then cover and lower heat. Let simmer for 20 minutes, or until the potatoes are soft.

Image

Add can of rinsed Northern white beans, kale, and sausages. Cook together another 15 minutes. Ladle into soup bowls, and serve with crusty french bread. My favorite bakery in Sonoma county is Costeaux French Bakery in Healdsburg.

Image

So the moral of the story in gardening is: Don’t be afraid to try new things. Some things will surprise you.
Some things are easier to grow than you think. And easy to prepare into a wonderful meal.

Planting Garlic, eating Onions

We harvested the two pumpkins and five butternut squash that made it this summer, just in time for Halloween.  I just love this time of year. The summer garden is just about over. I harvested some tomatoes and probably the last of the zucchini today. All the sunflowers are gone. But in there place, we are planting lots of winter goodies. Chard, kale, cabbage, spinach. And my personal favorite, garlic.

We have been growing garlic for years, and I must say, it is super easy to grow. The winter rains do all the work. You plant it now, and in June, dig it up. It has to air dry for a week or two in the garage, then you can cut the roots off, cut the tops off, and you have garlic for the year.

This year we are planting two types of garlic: Chesnok Red and Music Stiffneck. The Chesnok Red has purple stripes on the skin and is a little hotter or spicier than the Music. The Music is my favorite because the cloves are so big. Very nice flavor, when baked it is to die for, spread on a toasted baguette.

The first thing you have to do is peel the outer skin off, and break up the head into individual cloves. Then, get your bed or pot ready by amending the soil with some good compost or potting soil. Garlic likes good drainage. I space then about a foot or more apart. Dig a hole about 2 inches down. Put a tablespoon of bone meal at the bottom of the hole. Put the clove in so the pointy end is up, root side down. Cover with a handful of dirt. Water, and wait. You will get greens in about two weeks. Now forget about it until late spring.

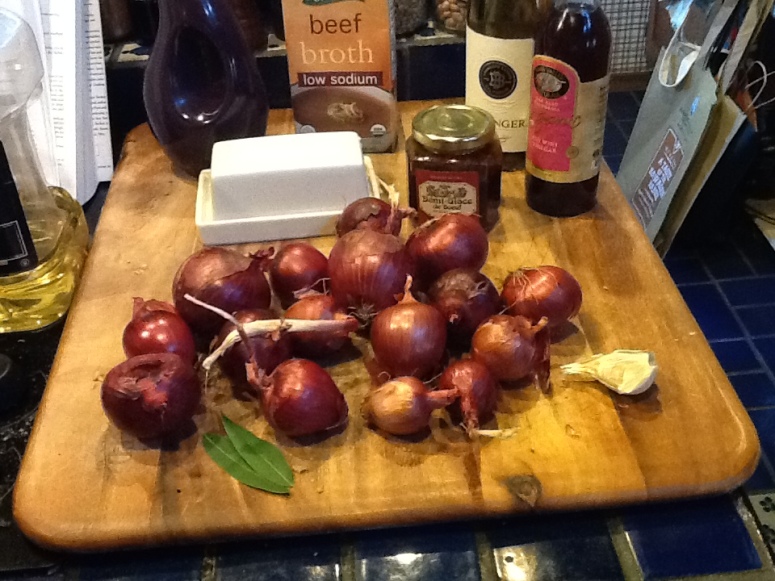
We harvested all the onions a month or two ago. I have a bunch of the red onions, so I decided to make French onion soup. You can make the soup from either yellow or red onions, however the red ones are sweeter. This is such an easy and elegant meal ( or start to a meal).

I consulted no less than 7 cookbooks to find what I thought would be the best recipe. Leave it to Julia Child, she won. I did change it up a bit, I added garlic, and a bay leaf. Also, put a small amount of balsamic vinegar in with the onions as they caramelize, it only enhances them. So here is my recipe based on Julia’s:

5-6 medium Red onions

3 Tablespoons of unsalted butter

1 Tablespoon of olive oil

1 teaspoon salt

1/2 cup balsamic vinegar  (Julia uses sugar)

8 cups beef broth

a bay leaf (my addition)

2 cloves of garlic, minced (my addition)

1/2 cup white wine

salt and pepper

Worcestershire sauce ( my addition)

( I have omitted flour and cognac that are in the original recipe)

1 1/2 cups grated Gruyere cheese and a baguette.

First, peel the onions and chop the onions in thin slices. Heat the butter and oil over medium heat in a big covered saucepan. Cook the onions, covered, for about 15 minutes.

When they soften, add some salt and the balsamic vinegar. Stirring often and keeping your eye on them, you are now softening and sweating the onions. You can walk away, but not for long. After about 20-30 minutes, uncovered, they should be done. They will be a nice, rich brown color.

Add the stock, the bay leaf, the garlic, the wine, and a few good dashes of Worcestershire sauce. Bring up to a simmer. Partially cover, and cook for 30 minutes.

Meanwhile, you can cut a few slices of the baguette and toast. Grate the cheese.

Once the soup has cooked, taste and adjust the seasoning. On a sheet pan, have oven safe bowls ready. Ladle soup into bowls, then float a toast on top. Cover with a handful of the grated cheese.

Put in oven under broiler just a few minutes, to melt cheese. Enjoy!

thai chilies and japanese eggplant

IMG_0163

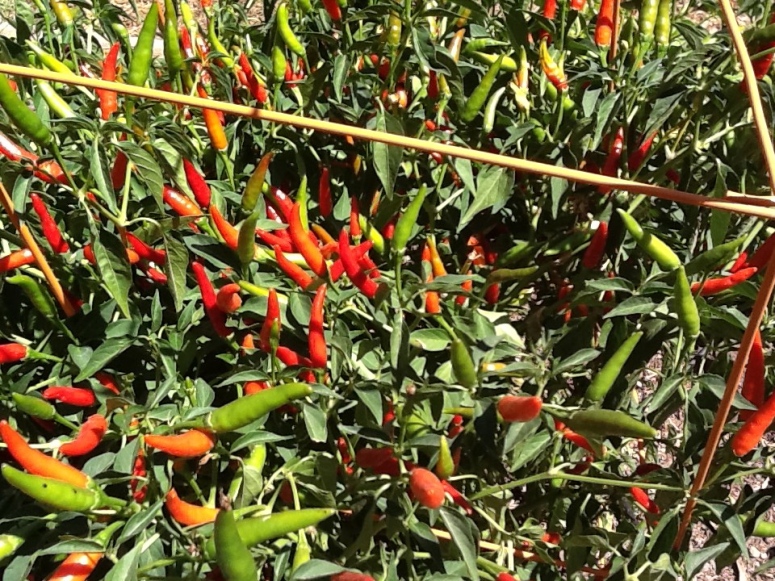
It was hot yesterday! 87 degrees in my corner of the garden. Well, at least my heat loving plants are enjoying themselves. Take these Thai chilies. They have been waiting all summer for this moment. They actually get spicier the longer they bask in the sun. I tried one a month or two ago, not hot yet. They are just smoking now! I bit into one and my whole mouth when numb from the heat. The Thai plant is especially large this year. I am calling it my pepper bush. It is taller than the bell pepper plants.  I attribute that to the chicken poop we compost with and the hot summer we’ve had.

As I was poking around in the bush today, picking peppers, look what crawled out of the center and took a good look at me. A praying mantis! I have never seen one in the garden before. I don’t think they are indigenous to Northern California. And I thought they were green, not brown. Well, he was very cool. He checked me out while I studied him. He paused just long enough for me to snap this photo. I believe they are good at keeping pests away. Hey, he’s got my respect. He must be a tough dude if he lives in this hot Thai pepper bush.

I decided to string up some chilies and dry them. This is really quite easy. Just get a needle and thread, and string them up. Hang in a sunny spot for about a week or two. You really want them dry before you move them inside, otherwise they will become moldy and unusable. You can grind them up into powder, cut the seeds out and just use the seeds, or reconstitute the dried chilies in water and then use like you would a fresh chili.  I must say that I prefer the fresh chili. I usually chop them up and add them to curries or stir fry. In Thailand, every house kitchen has a mortar and pedestal. They pound the chilies to make paste. This is the best way to make curry paste. I have never done it this way, maybe I will ask my husband for a mortar for Christmas. The stone mortars can be expensive but last forever. Here is a photo of what the chilies look like drying in the sun.

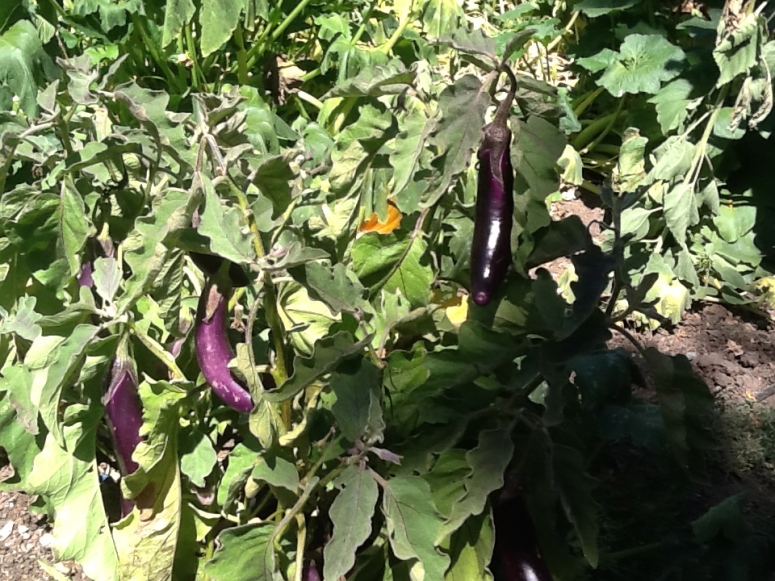
Now, what else is ripe that I can harvest to put in a curry? The Japanese eggplants are amazing, producing like a zucchini which is to say, never ending. They are mild, almost seedless, and the skin is so thin you don’t have to worry about peeling them. And they are beautiful, with hues of violet, lavender and dark purple.

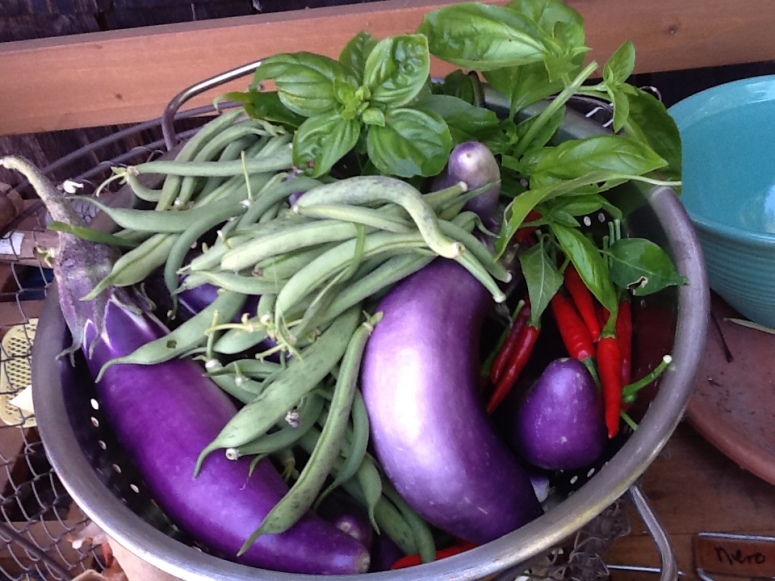
Some green beans, a bell pepper, onions, handful of basil. I have a Kaffir lime tree, so I will grab some leaves from it. You can use the leaves like a bay leaf, when cooking curry. This is shaping up to be a lovely curry.

I have a great recipe from the cookbook Best of Regional Thai Cuisine, by Chat Mingkwan. I took his class at Sur la Table a few years ago, and just love some of the Thai dishes. Here is his recipe for Green Curry Chicken. It is almost like a soup, which you ladle over rice in a bowl. Now, like I said earlier, I do not make fresh paste, I buy some already made, and them add my fresh chilies like a condiment.

2 tablespoons of canola oil

3 tablespoons Green Curry Paste

2 cups diced chicken

3 cups coconut milk

2 cups diced Japanese eggplants

2 cups diced zucchini

1 cup diced red bell pepper

6 whole kaffir lime leaves

1/4 cup fish sauce

3 tablespoons brown sugar

1/2 can chicken stock

2 sprigs basil

1/4 cup chopped Thai chili for garnish

fresh lime juice, 1 medium size lime

In a big pot over medium heat, heat oil. Add chili paste and cook until fragrant. (I added lemon grass chopped up and some ginger slices) Stir in chicken and cook with the curry, about five min. until beginning to brown. Add coconut milk and bring to a gentle boil. Add vegetables, kaffir lime leaves, fish sauce, sugar and chicken stock. Continue to simmer for 7-10 min. until vegetables are done. ( I cover pot, and let it go on stove on low heat). Take off heat, then add fresh basil, fresh cilantro, and the juice of one lime. Serve with jasmine rice. Might want a cool beverage by you!

sunflowers and ratatouille

I love the late summer, hot during the day and cool at night. So many things happening in the garden. It is going in two directions this time of year. On the one hand, summer produce is still coming in. On the other hand, cold weather crops are planted and getting all the energy they can from these last few weeks of summer heat. I feel very blessed and full of gratitude that I live in a place where I can grow my own food. (And wine taste when every I want.)

Image

I must say the sunflowers this year have been dazzling. Seeds saved over many years have cross-pollinated to produce some interesting varieties. I have very tall, multi-heads that have Tiger Eye coloring. Just beautiful. And the bees love them, I mean love – love them. And that’s a good thing.

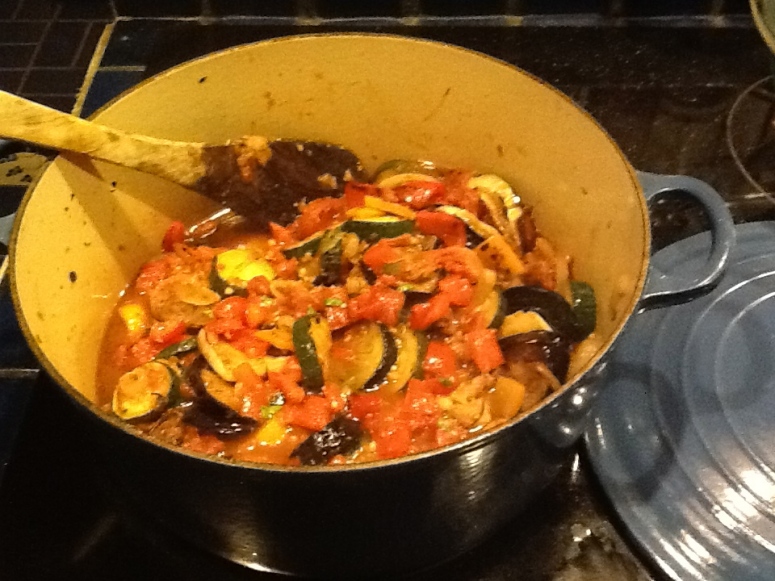
I made ratatouille last night, from our garden veggies. I used canned tomatoes because there is more juice and they are peeled already. After consulting three cookbooks, I came up with my own version of this classic dish. The Joy of Cooking is the recipe that I tweaked to get my version. Basically, you cook all the vegetables individually and then combine and cook again.

2 medium eggplants, cut into rounds

2 medium zucchini, cut into rounds

2 bell peppers, charred, skin removed and chopped

1 yellow onion, sliced

3 garlic cloves, minced

1 can chopped tomatoes, liquid too (28oz.)

Herbs de Provence

salt and pepper

handful of fresh basil, chopped

lots of olive oil

Get a large Dutch oven pot on the stove at high heat. Add 1/4 cup of olive oil. Add the chopped eggplant and zucchini in batches, browning on both sides. Remove to a bowl and set aside. You can turn heat off. Now, char the bell peppers, burn the skins black on all sides. I did this on the stove burners, which is messy. You can do this in the oven on broil. Just put the peppers on a baking sheet, and blacken, turning so all sides get burned. When done, remove and put the peppers in a paper bag for 10 min to sweat skin off. Then you can peel and chop. Add these to pot on stove, with chopped onion and 2 tablespoons of olive oil. Cook over medium heat, until soft. add garlic. Now add eggplant and zucchini back in. Add Herbs de Provence and salt and pepper. Now add can of tomatoes, juice too. Cook over medium heat for 5-10 min. Then, lower heat and cover, and cook for 15 min. Uncover, and you can cook uncovered to reduce liquid if there is too much, for another 5-10 min. Chop fresh basil and put on when ready to serve.

This dish actually tastes better the next day, after all the flavors have had a chance to meld. We had it as a side dish last night, and today ate it on crusty bread, almost like bruschetta. Enjoy!

chicken and chard Do Not Mix

We had a little mishap in the garden today. Someone (me) evidently left the gate to veggie garden open this morning, after I harvested a bunch of stuff. I let the chickens out of their coop, as I normally do. I hauled my harvest inside and made breakfast. This is what the chard looked like before…

and this is what it looks like now.

Evidently chickens love chard as much as we do, but they do not like the stems. Well, at least the eggs will be extra rich in antioxidants and vitamins this week! Lucky for them I love their eggs so much.  Honestly, I was ready to kill the hens this afternoon. They shall now be known as “The Three Devil Chicks“.

My basket was full of produce today, still coming in strong are: peppers, tomatoes, eggplant and three types of summer squash. I have some onions too. The Rosa Bianca eggplants are almost too pretty to eat. Perhaps a ratatouille is in order. Maybe tomorrow.

I need to use the last of the chard that I picked before the mishap. Chard, eggs, zucchini, basil…frittata!

Here is an easy frittata recipe

9 eggs

salt and pepper

0ne or two tablespoons of olive oil

three handfuls of chard, chopped (or spinach)

handful of chopped basil or other herb

one medium zucchini, diced

handful of cremini mushrooms

one onion, diced

one garlic clove, minced

two Adele chicken sausages, cubed  (i like the one with pineapple)

handful of cheese (feta, parmesan or cheddar)

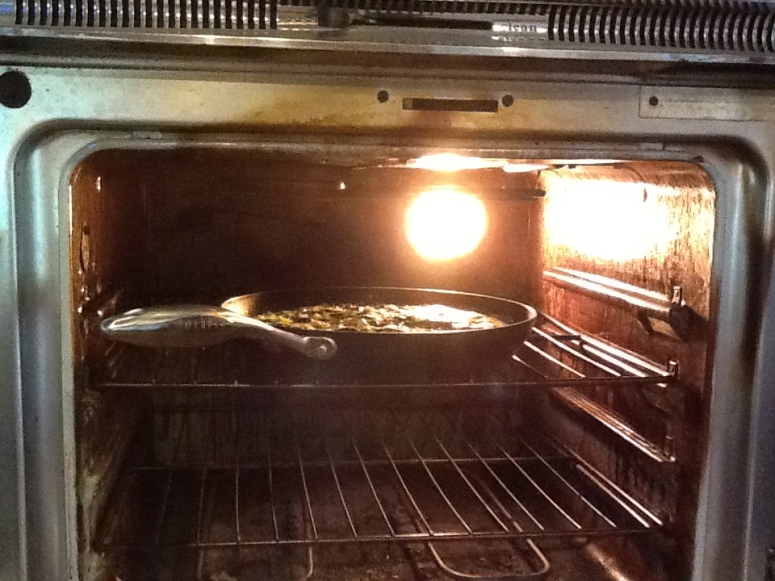
Preheat oven to 400F. Crack the eggs into a big bowl and whisk. Salt and pepper to taste. Set aside. Get a frying pan on medium heat with enough olive oil to cover the bottom. Saute the cut sausages until brown. Remove. Next sauté the chopped zucchini, mushrooms, onions and garlic until soft, about 5-7 minutes. Put the sausage back in the pan. Throw in the chard and basil. Cook another 2 or 3 minutes, until the chard is wilted but still bright green.

Pour in eggs. Sprinkle the cheese on top. Mix to incorporate then let sit, do not stir. Cook until bottom and edges are set. When you can jiggle pan and only the middle is watery, put in the oven.

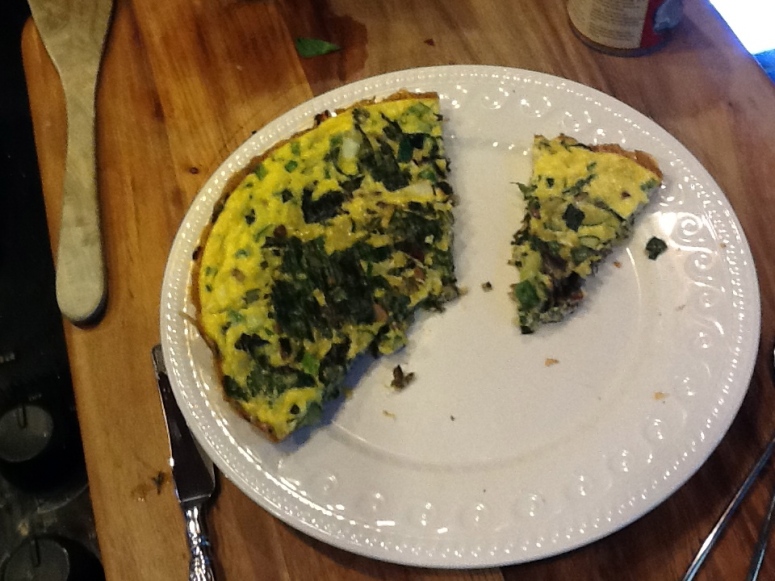
Keep and eye on it, It should take only about 7-10 minutes for the middle to set. When you pull out the pan and shake it, the middle should be set, not moving at all. It will look golden and delicious. Getting it out of the pan is tricky.

Let it cool in the pan on the counter for 10 minutes. Very gently, use a knife or spatula and work around the edges, to loosen the frittata on all sides. With spatula, go under and around to loosen as much as possible.

Get a plate ready, then lift pan and tilt it at an angle, slide the frittata carefully onto the plate. I like to eat mine with Sriracha hot sauce. Enjoy.

The last of the cucumbers

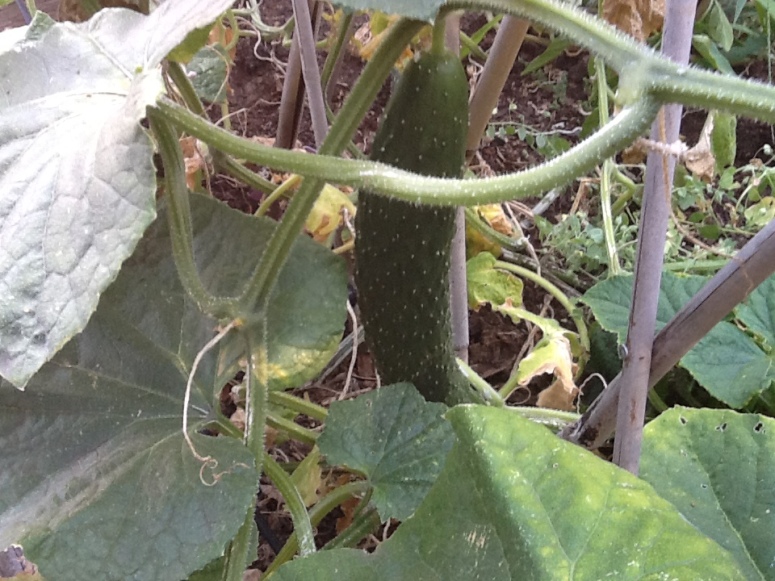
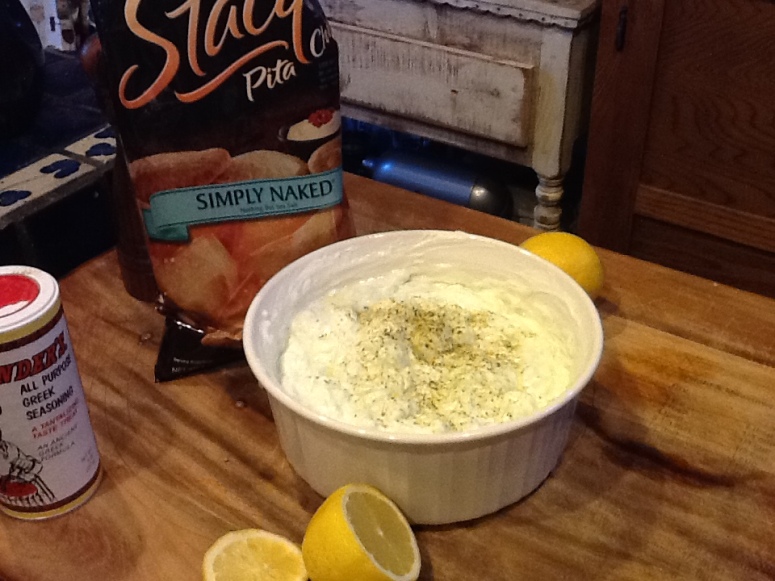
I have just picked the last of the Suyo cucumbers from the garden. This year was the best ever for cucumbers. I attribute that to the hot weather we had all summer. Suyo cucumbers are a long, bumpy Japanese variety. I trellis mine, so they grow straight. If you let them grow on the ground the curl up, like a snake. They are delicious in salads, but my favorite thing to do with them is make tzatziki. A creamy, tangy Greek dip made with yogurt. So good. Here’s the recipe:

2 cucumbers, peeled and grated

2 cups Greek yogurt

2 garlic cloves more if you like

2 tablespoons olive oil

a squeeze of fresh lemon, say 1 tablespoon or more to taste

salt, pepper

dash of Greek seasoning

Put two cups of Greek yogurt in a bowl. Mince or press the garlic and add to yogurt. Peel the cucumbers, then grate them on a cheese grater. Put in colander in the sink. Press and squeeze as much water out as possible. This takes some muscle! You can also pat it with paper towels to absorb some of the water.  Once the grated cucumber is fairly dry, add it to the yogurt. Add the olive oil and lemon, salt and pepper. Stir until well combined. Sprinkle Greek seasoning on top and drizzle a little more olive oil. *Note- it tastes better the next day. The flavors get better the longer it sits. Eat with pita chips, baby carrots, and veggies. Also makes a great salad dressing.